

Behind The Scenes: A Black Light Neon Body Paint Photo Session with Photos By TM
In the world of photography, certain themes push the boundaries of creativity and technique. One such theme is the stunning interplay of neon colors under black light. Recently, we embarked on an electrifying photo session that showcased the fusion of body paint art and innovative lighting techniques, thanks to a collaboration between the talented model Nora, Videographer Tony Rivas Production and Photos By TM.
Inspiration and Vision
Our session was driven by a unique vision: to capture the beauty of a dragon tattoo glowing in neon colors on a model Nora’s body. Nora, spearheaded the project, bringing her vision to life by coordinating with a skilled body paint artist Dangusdee. Thomas and Tony Rivas Production took on the role of transforming this vision into reality by setting up the perfect studio environment for photo and video.

Preparation and Setup
Preparation was key to achieving the striking results we envisioned. Nora coordinated with the body paint artist Dangusdee to ensure the neon colors were vivid and captivating. Meanwhile, Thomas meticulously arranged the studio with 100-watt black lights to highlight the neon hues and a projector on a Godox constant light to create a dramatic spotlight on the model. Tony Rivas Production was our Videographer on set. This setup was crucial for capturing the intricate details of the body paint and the ablility to the model’s expressions.

To maintain image clarity and minimize noise, we carefully selected camera settings that balanced light sensitivity and detail retention. However, the low light conditions presented a significant challenge.

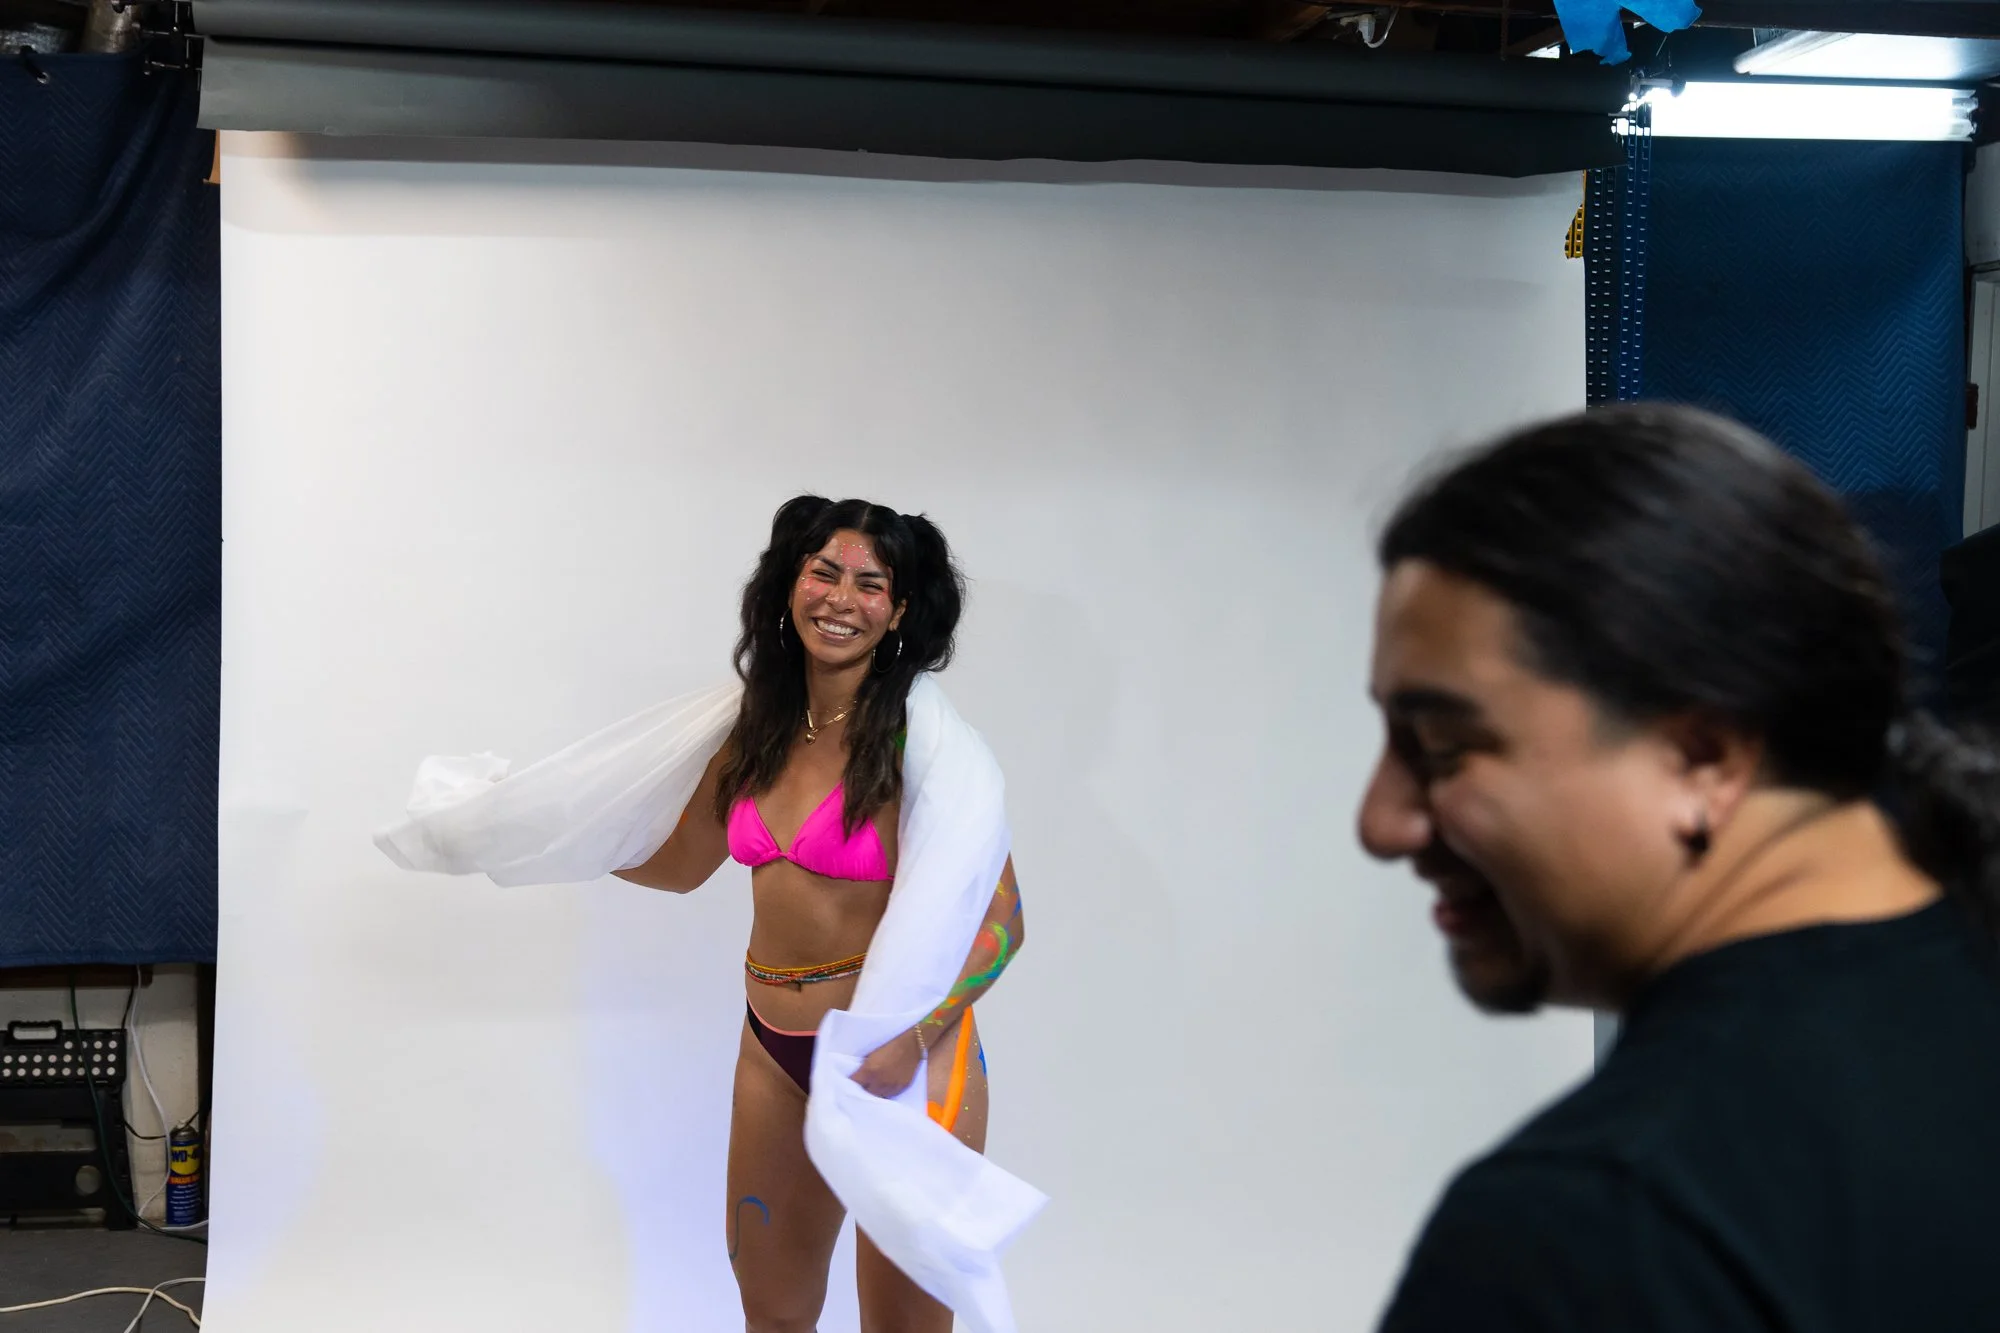
Tony Rivas Production recording BTS
Challenges and Solutions
One of the primary hurdles was managing the absence of other light sources. The low light environment caused the auto-focus features of our cameras to become sluggish and sometimes unresponsive. To overcome this, manual focus became our go-to solution, ensuring that each shot was crisp and detailed.
Another lesson learned was the need for a second black light in future sessions to achieve even black lighting across full-body shots, enhancing the overall consistency of the visual output.
Memorable Moments
Despite the technical challenges, the session was filled with memorable moments. Nora’s infectious laughter kept the mood light and enjoyable, making the long hours of shooting more pleasant. A highlight of the session was capturing a close-up of the dragon tattoo on the model’s back—a shot that perfectly showcased the vividness and intricacy of the neon paint.
Visual Showcase
For those interested in the visual magic of neon body paint photography, check out the stunning images from our session here. They not only highlight the captivating blend of art and light but also offer a glimpse into the creative process behind the scenes.

Quick Tips for Neon Body Paint Photography
Use Manual Focus: In low light conditions, auto-focus can struggle. Manual focus helps achieve sharp details.
Multiple Black Lights: Consider using more than one black light to ensure even illumination across the entire model.
Test and Adjust: Experiment with different setups to find the best combination of lighting and camera settings for your vision. We will be trying out a new lighting set up for the next session!
Stay Connected
If you’re fascinated by the interplay of neon art and photography, explore more of our work by visiting my portfolio. For ongoing updates and creative insights, follow our blog, sign up for our newsletter and stay tuned for future projects that push the boundaries of artistic expression.
Got questions or need more details? Drop them in the comments below or reach out to photos by TM at info@photosbytm.com We’re here to help you every step of the way! Schedule a consultation here.
Equipment used: Sony A7RIV
Sony 70-200 GM Lens
Flashpoint xplor 600 pro strobe
Flashpoint XPLOR 400 PRO strobe
Flashpoint eVOLV 200 Pro II TTL Pocket Flash
60-inch Glow EZ-Lock OCTA softbox
Glow EZ Lock 48" Octa Small Quick Softbox
Glow EZ Lock 12x56 Quick Strip