The Art of Dodge and Burn: How It Elevates Your Photos
Today, I want to dive deeper into one of the most essential and powerful retouching techniques used by professional photographers: Dodge and Burn. This technique is a game-changer in refining the look of your photos, but it often goes unnoticed because of how subtle the results can be.
What is Dodge and Burn?
Dodge and Burn is a method used to selectively lighten (dodge) or darken (burn) specific areas of an image. By doing so, we can control the contrast, emphasize certain features, or smooth out textures to create a more dynamic and balanced photograph.
In essence, Dodge and Burn allows us to:
Enhance highlights and shadows.
Refine skin tones and textures.
Add depth and dimension to an image.
This technique originated from traditional darkroom practices, where photographers would control exposure in specific areas of a print. Today, we apply it digitally with great precision, helping images come to life in ways that feel natural yet striking.
Why is Dodge and Burn Important?
The human eye naturally responds to light and shadow. When we look at an image, we’re drawn to areas of contrast—places where light meets shadow. Dodge and Burn allows us to guide the viewer’s eye through the photograph, emphasizing what’s important while keeping everything balanced.
Here’s how it makes a difference in your images:

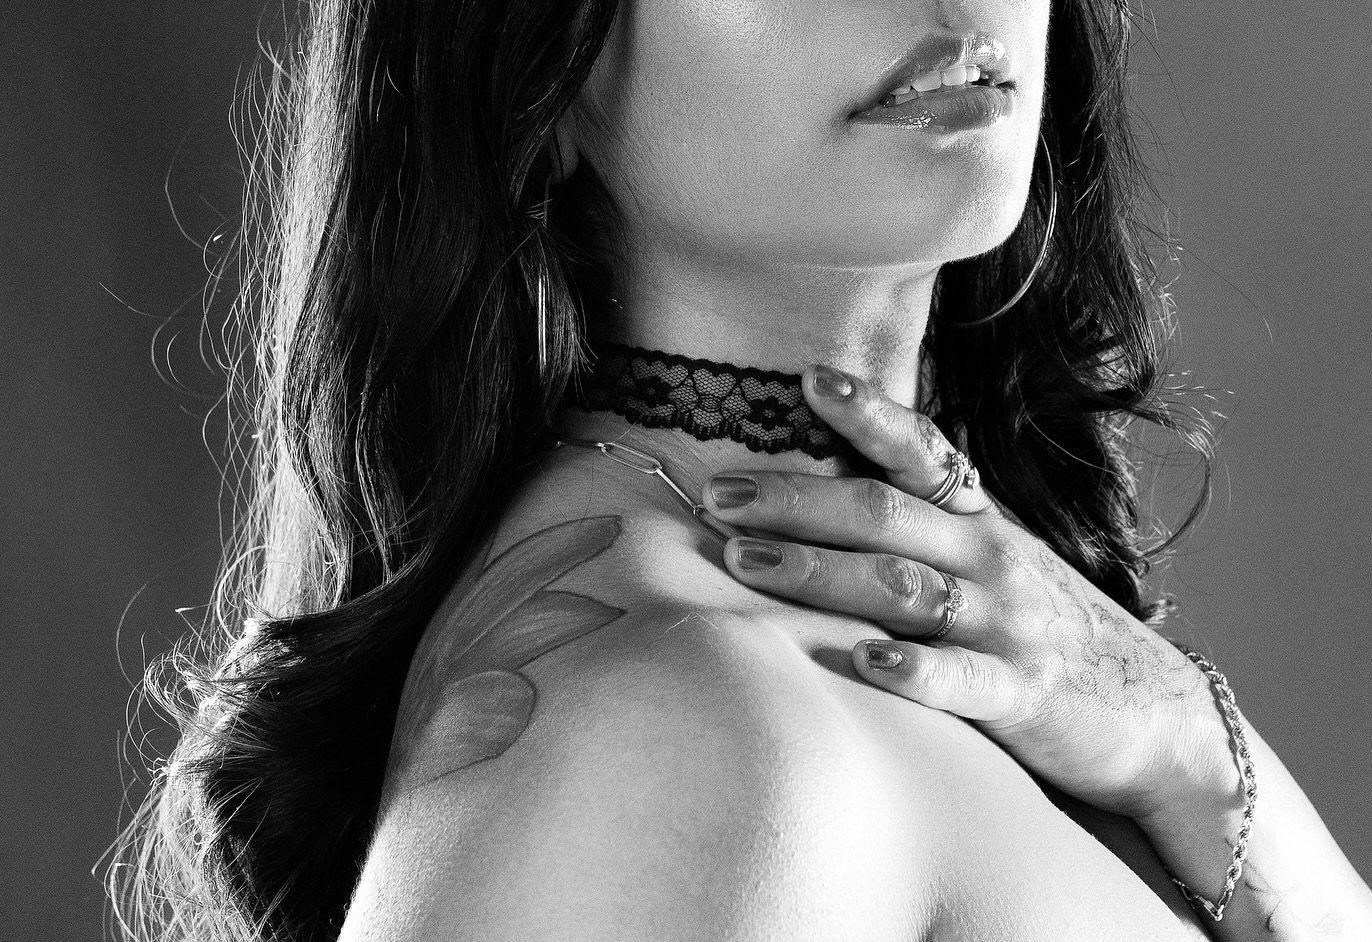
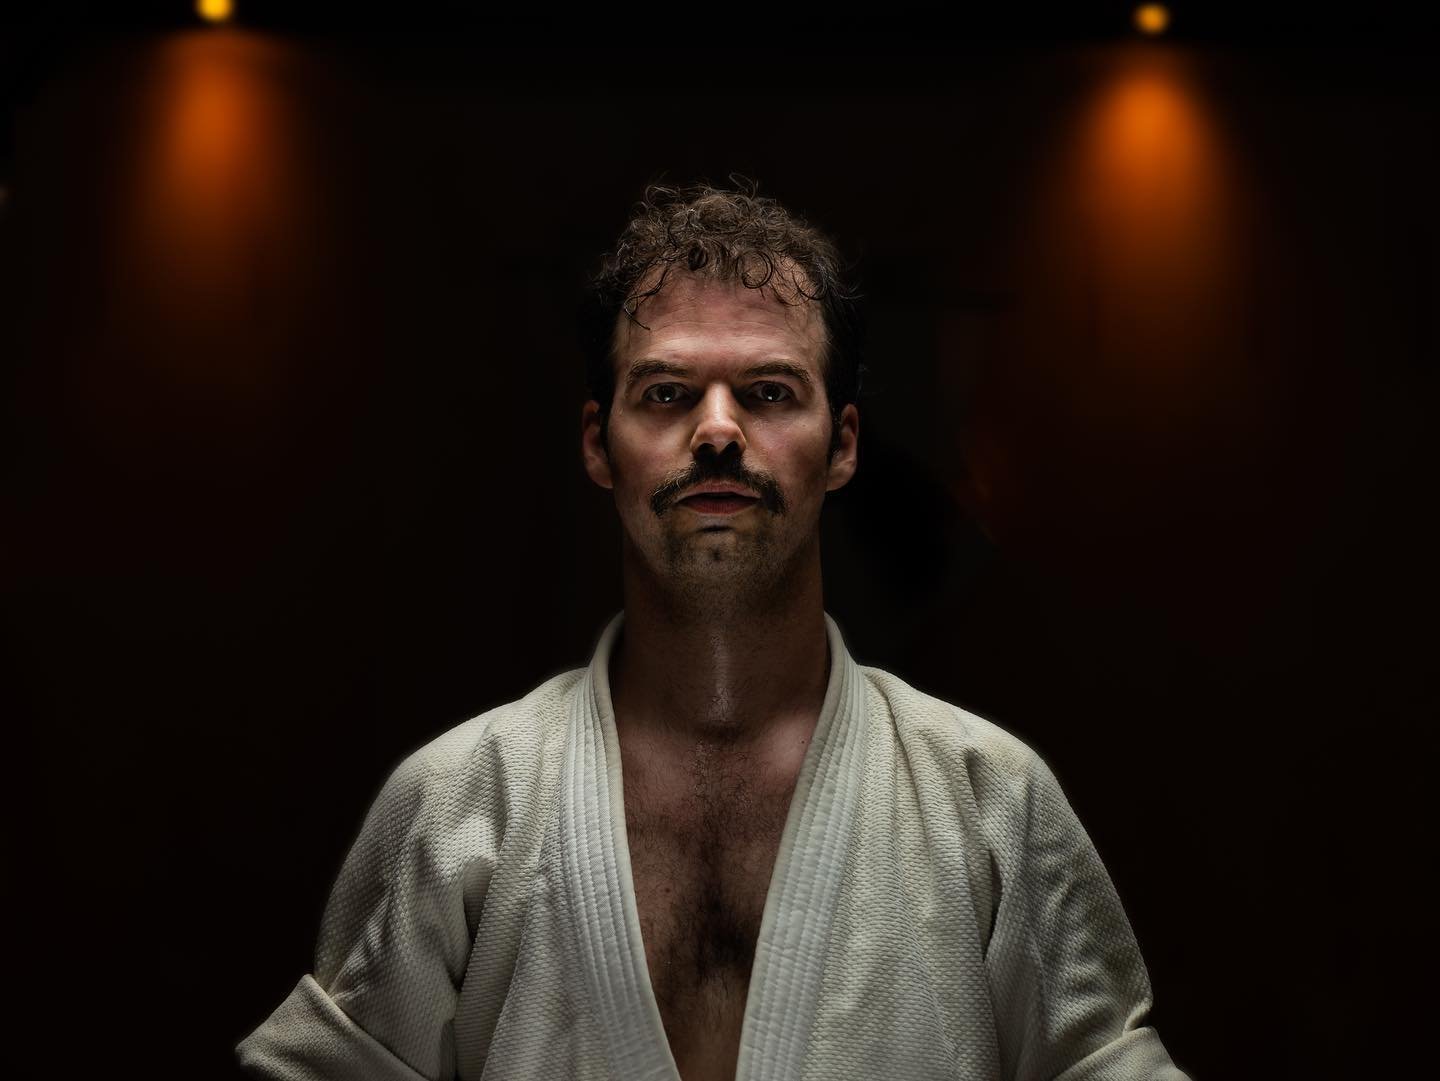
Soft light layer using didge and burn to enhance Highlights and Shadows
Enhancing Skin Tone and Texture
One of the most common uses of Dodge and Burn is in portrait photography, particularly when refining skin. It allows us to subtly smooth out uneven skin tones without the "plastic" look that heavy retouching tools can create. Instead of blurring the skin, Dodge and Burn keeps natural texture intact, giving the subject a realistic and flattering appearance.

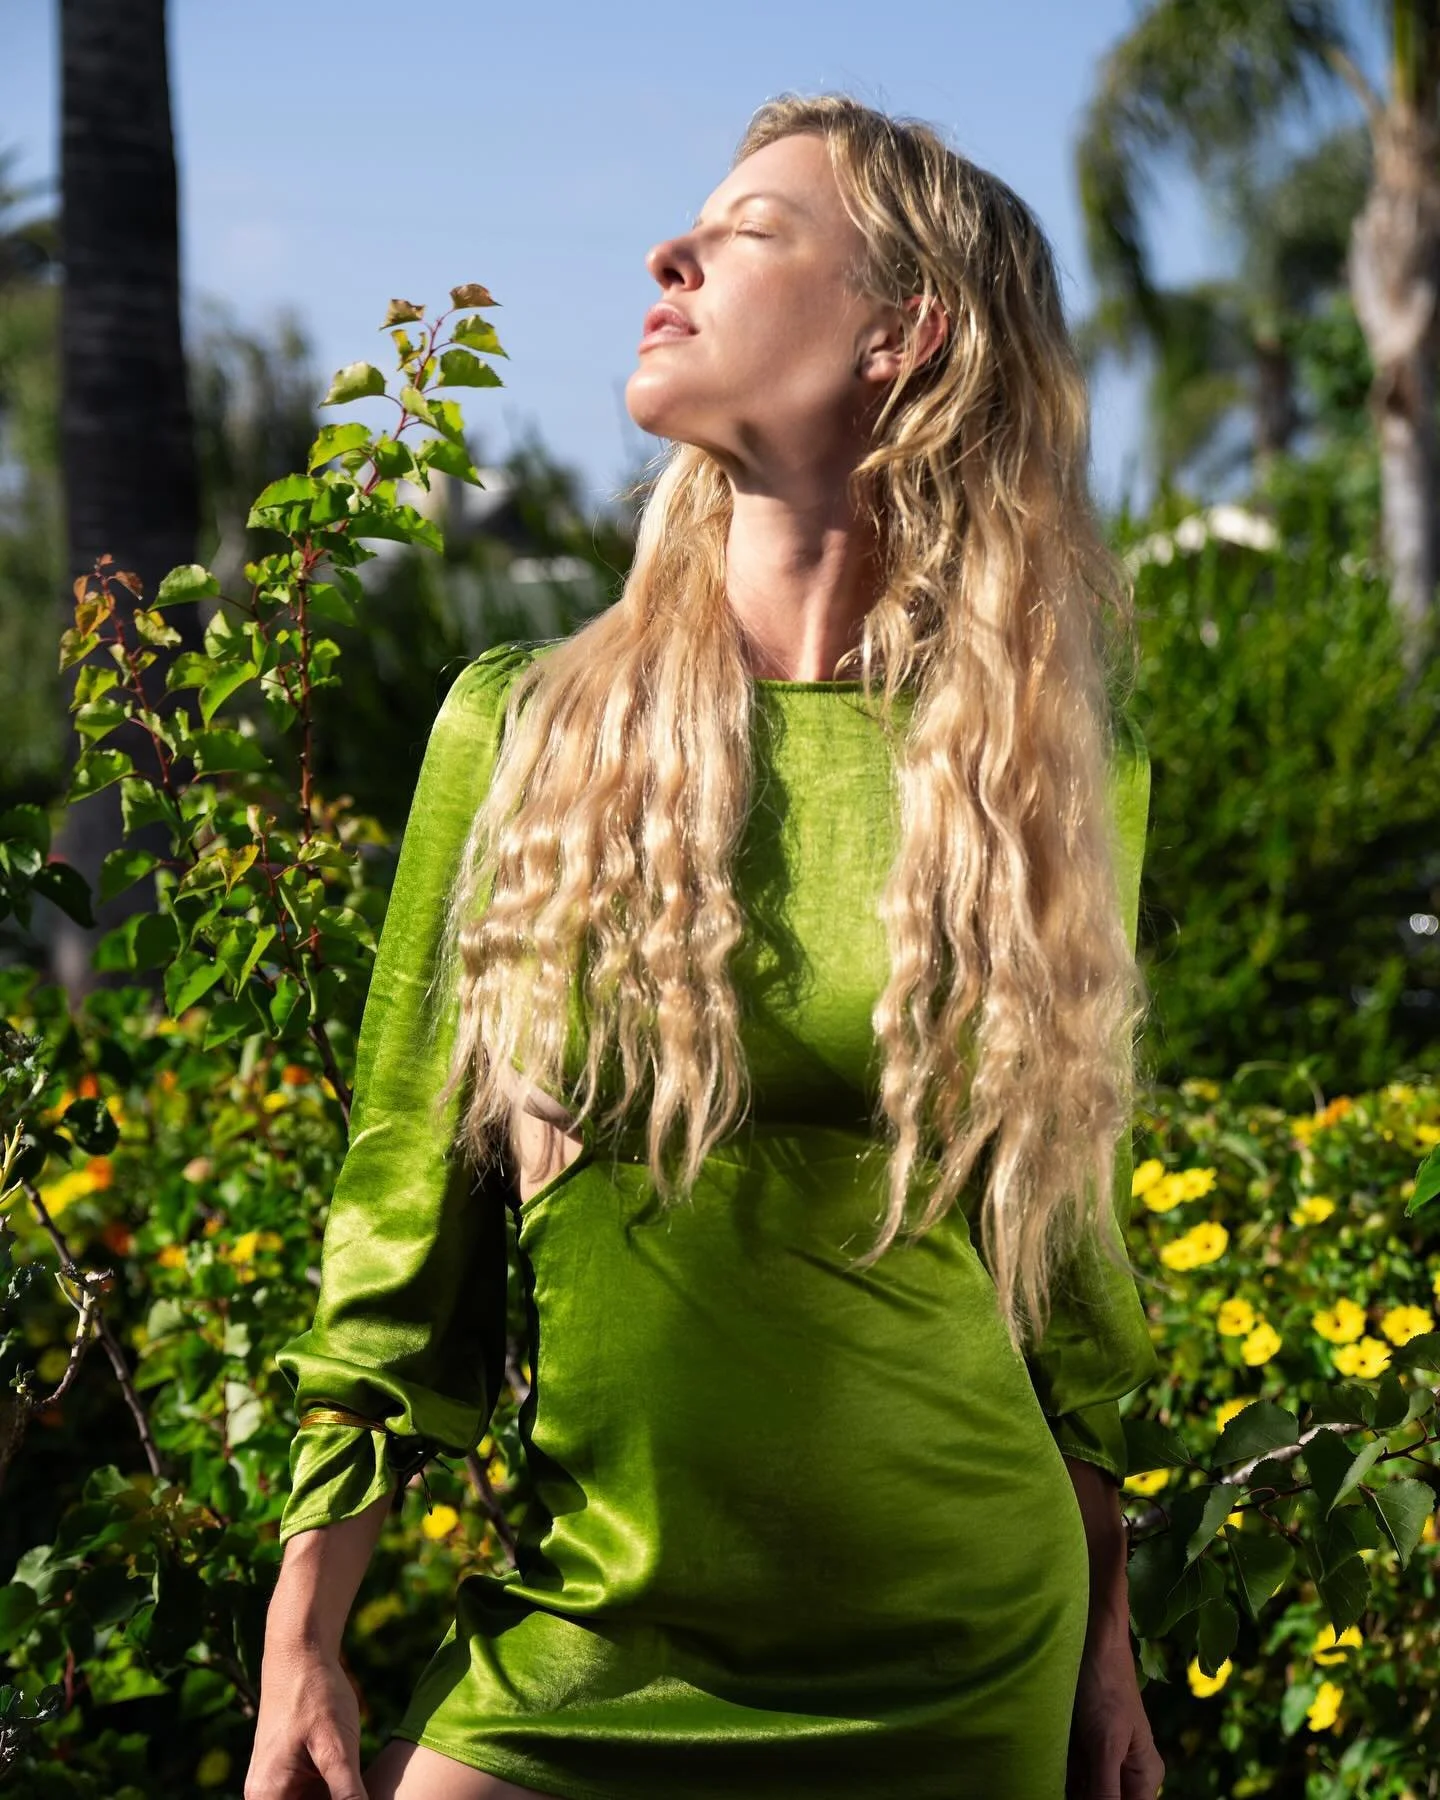
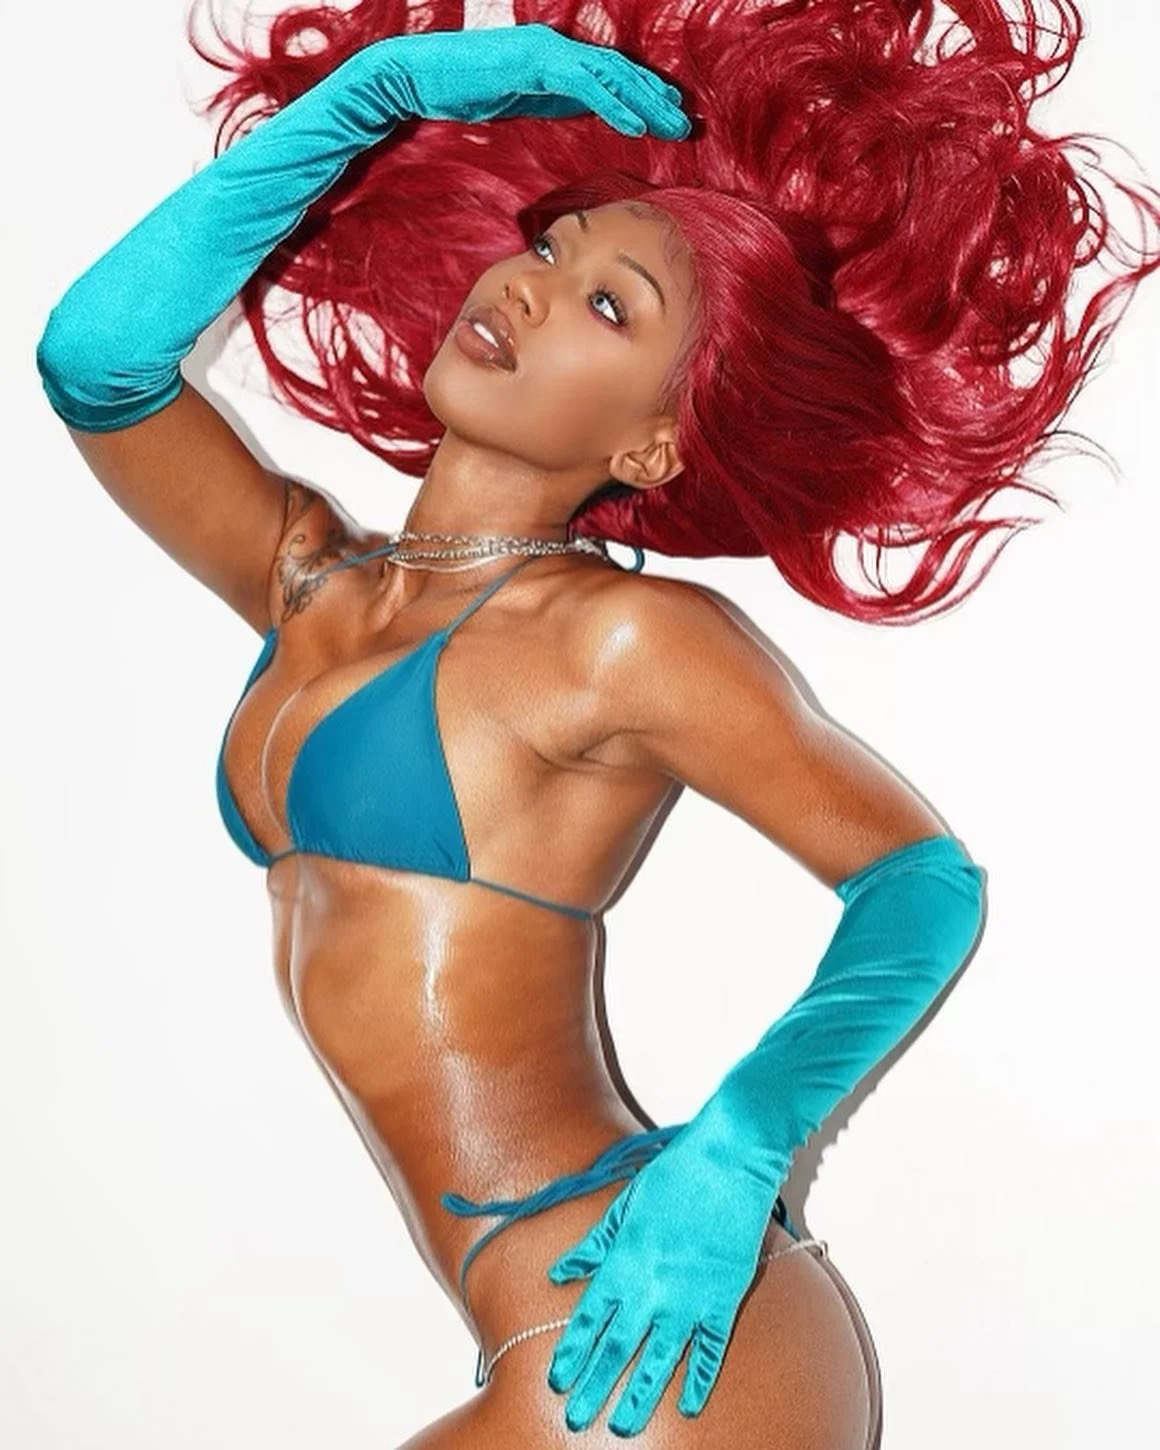
Image after Dodge and Burn soft light layer applied
Creating Depth
In any image, especially in portraits or action shots, the Dodge and Burn technique can add depth. By darkening certain areas (burn) and brightening others (dodge), we create more dimensionality, which helps the subject stand out from the background. This subtle shaping of light and shadow enhances the three-dimensional feel of the image.
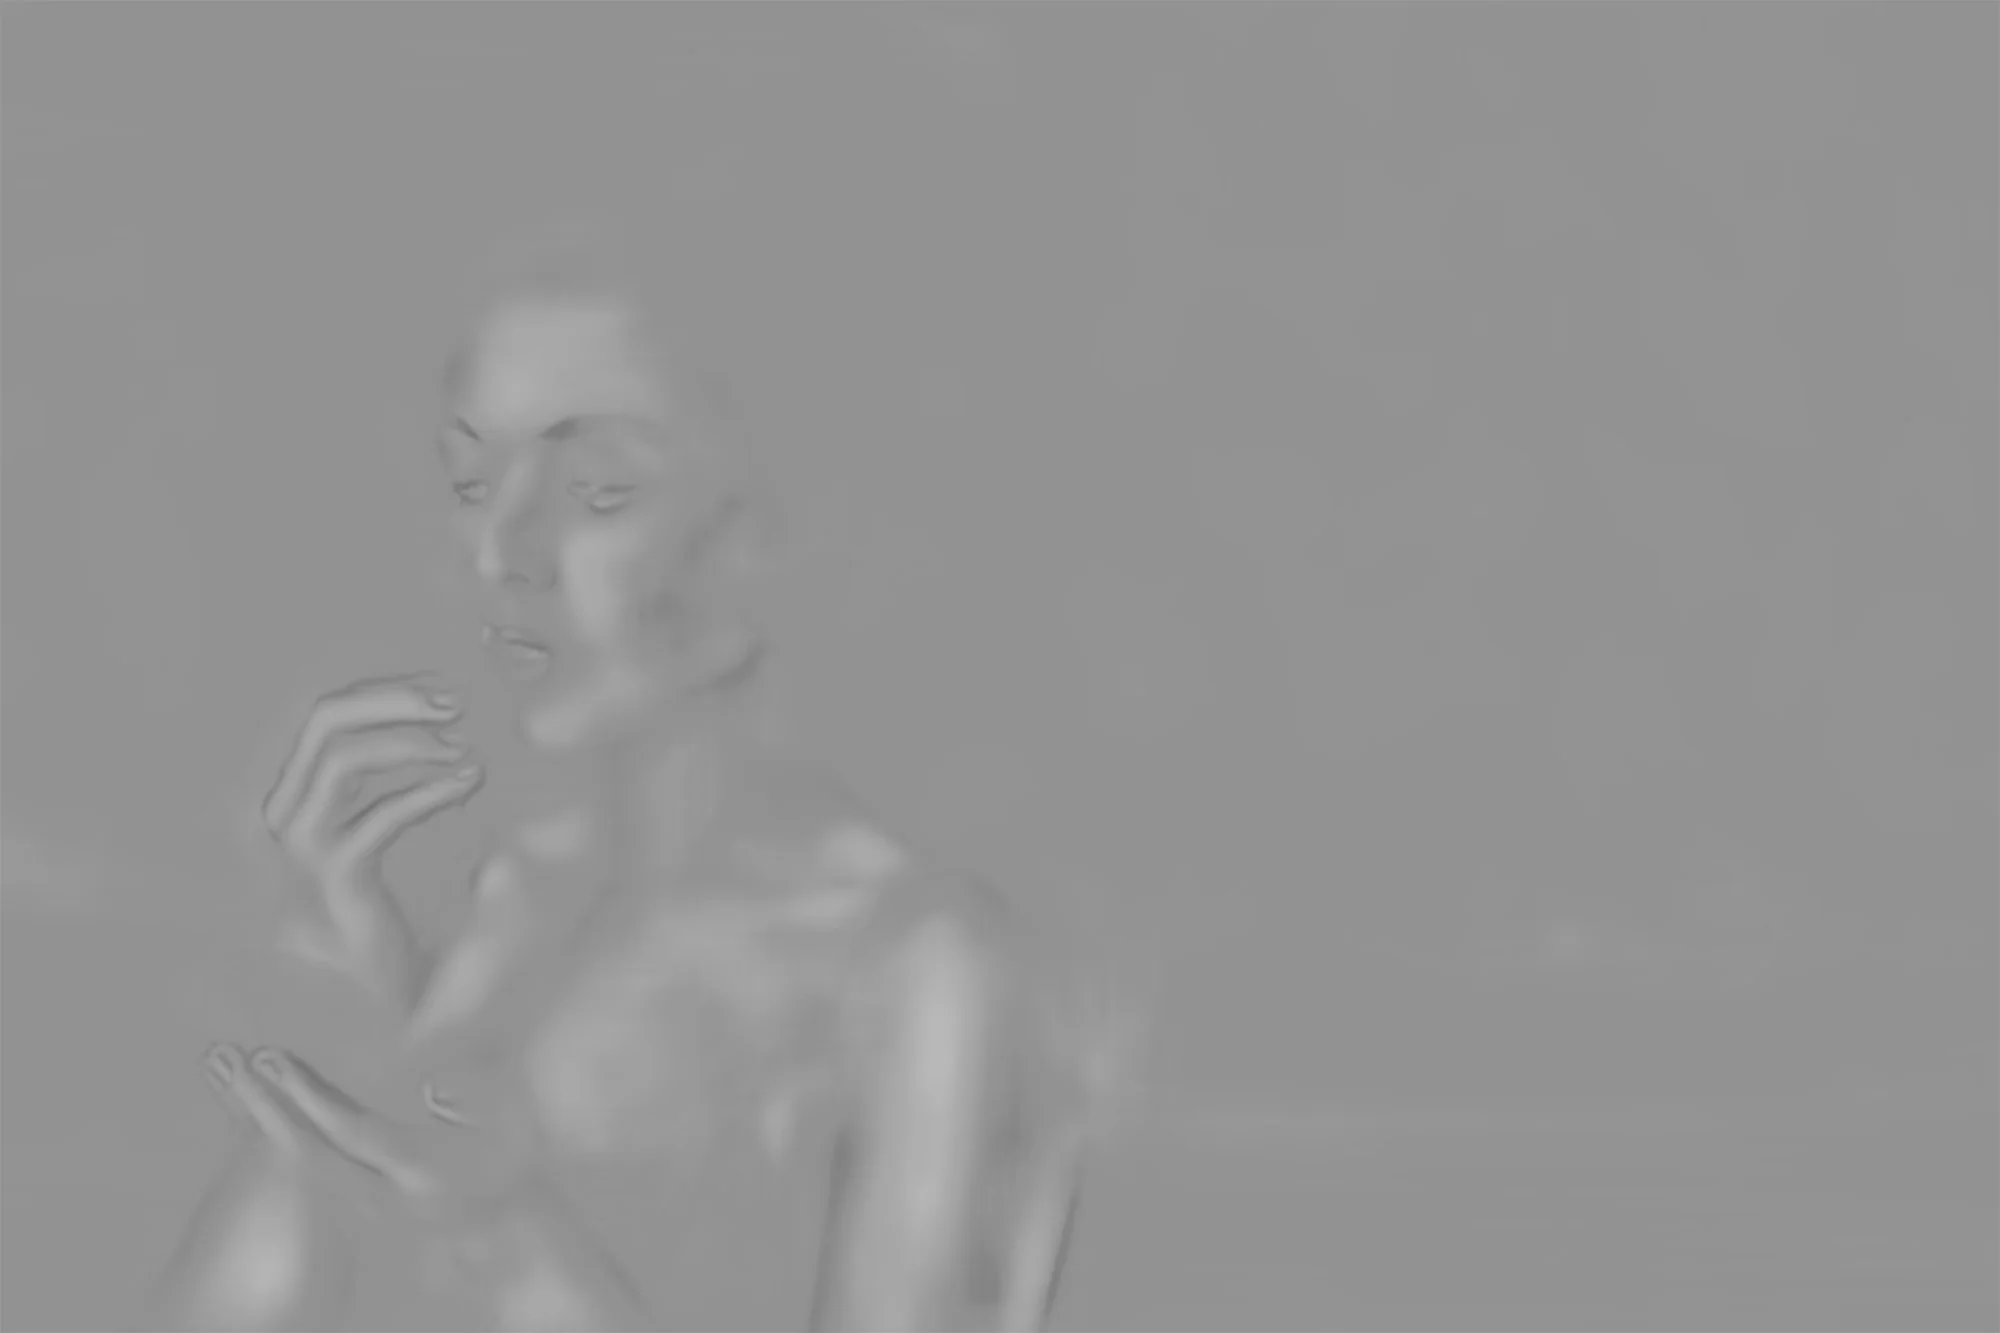
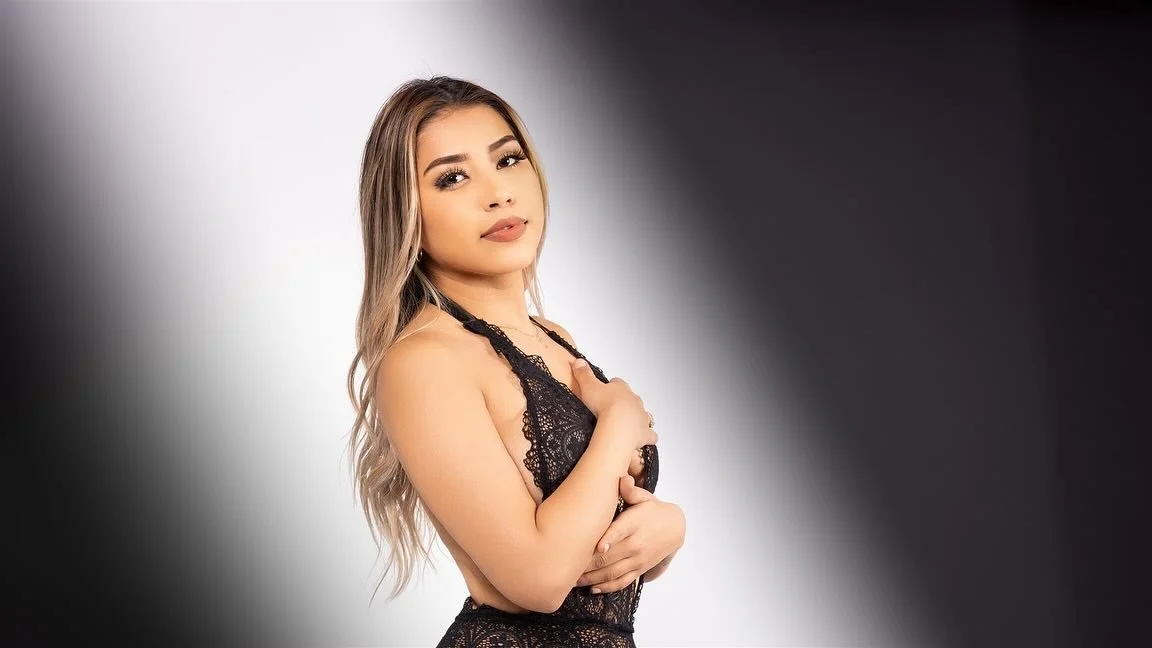
Soft light layer using dodge and burn to add Volume
Highlighting Key Features
Want to draw attention to someone’s eyes, cheekbones, or smile? Dodge and Burn allows us to selectively brighten areas like the eyes or highlight cheekbones, giving the face more definition. It can also enhance the natural contours of the body or accentuate muscle definition in action shots, like those from a fitness or sports shoot.
Balancing Light
In many photos, certain areas might be too bright or too dark due to lighting conditions. With Dodge and Burn, we can even out these inconsistencies. For instance, if part of the face is overexposed from harsh sunlight, we can use burning to darken that area. If shadows are too strong, dodging helps lift those areas, balancing the light across the photo.
Directing Attention
By selectively brightening and darkening parts of an image, we can guide the viewer’s attention to the focal point. For example, in a portrait, we can use Dodge and Burn to subtly guide the viewer’s eye toward the subject’s face, away from distracting elements in the background or other areas of the image.
How We Use Dodge and Burn in Retouching Your Photos
When we retouch your images, we approach Dodge and Burn with care and precision. Here’s a quick breakdown of how we use it during the editing process:
Step 1: Assessing the Image: We look at the overall light distribution and identify areas where we need to enhance shadows and highlights.
Step 2: Applying Dodging: We start by brightening areas that need a bit more light, like the eyes, highlights on the skin, or parts of the image that should draw more attention.
Step 3: Applying Burning: Next, we darken areas that may be too bright or areas that need more definition, like the edges of the face, jawline, or parts of the background to create separation.
Step 4: Fine-Tuning: Finally, we adjust the overall contrast and make sure everything blends naturally, so the Dodge and Burn technique doesn’t look forced or overly dramatic.
Why Dodge and Burn Matters to You
As a client, you may not always notice when Dodge and Burn has been applied, and that’s the point—it’s meant to be subtle. However, the difference it makes is significant. Without it, images can look flat, with inconsistent lighting or dull skin tones. With it, your photos take on a professional polish that makes them stand out while retaining a natural look.
At the end of the day, our goal with Dodge and Burn is to enhance your images in a way that feels authentic to who you are, while making sure the final photos are visually impactful.

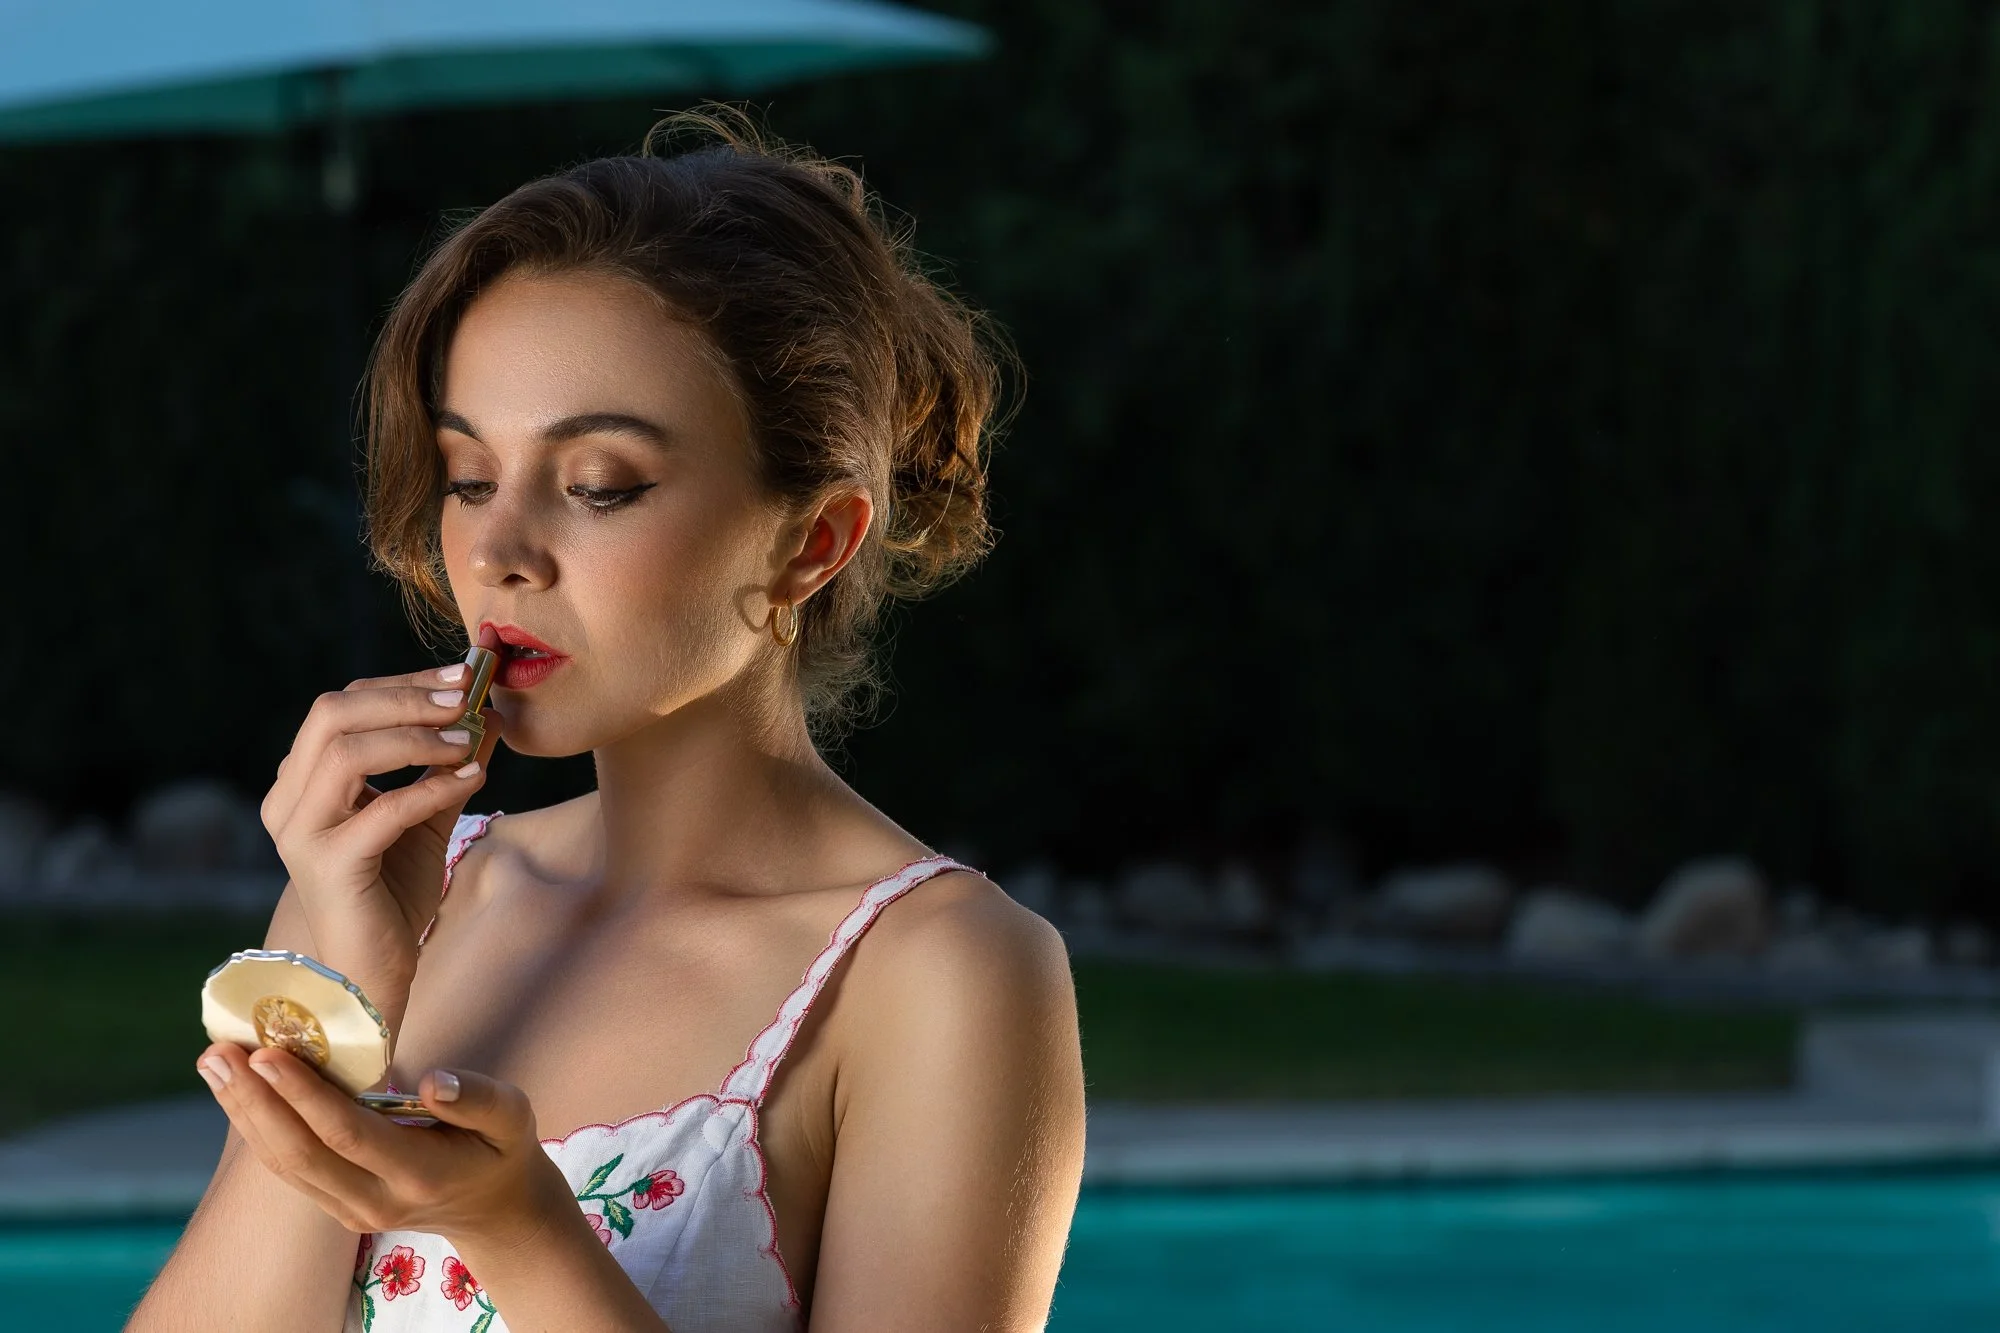
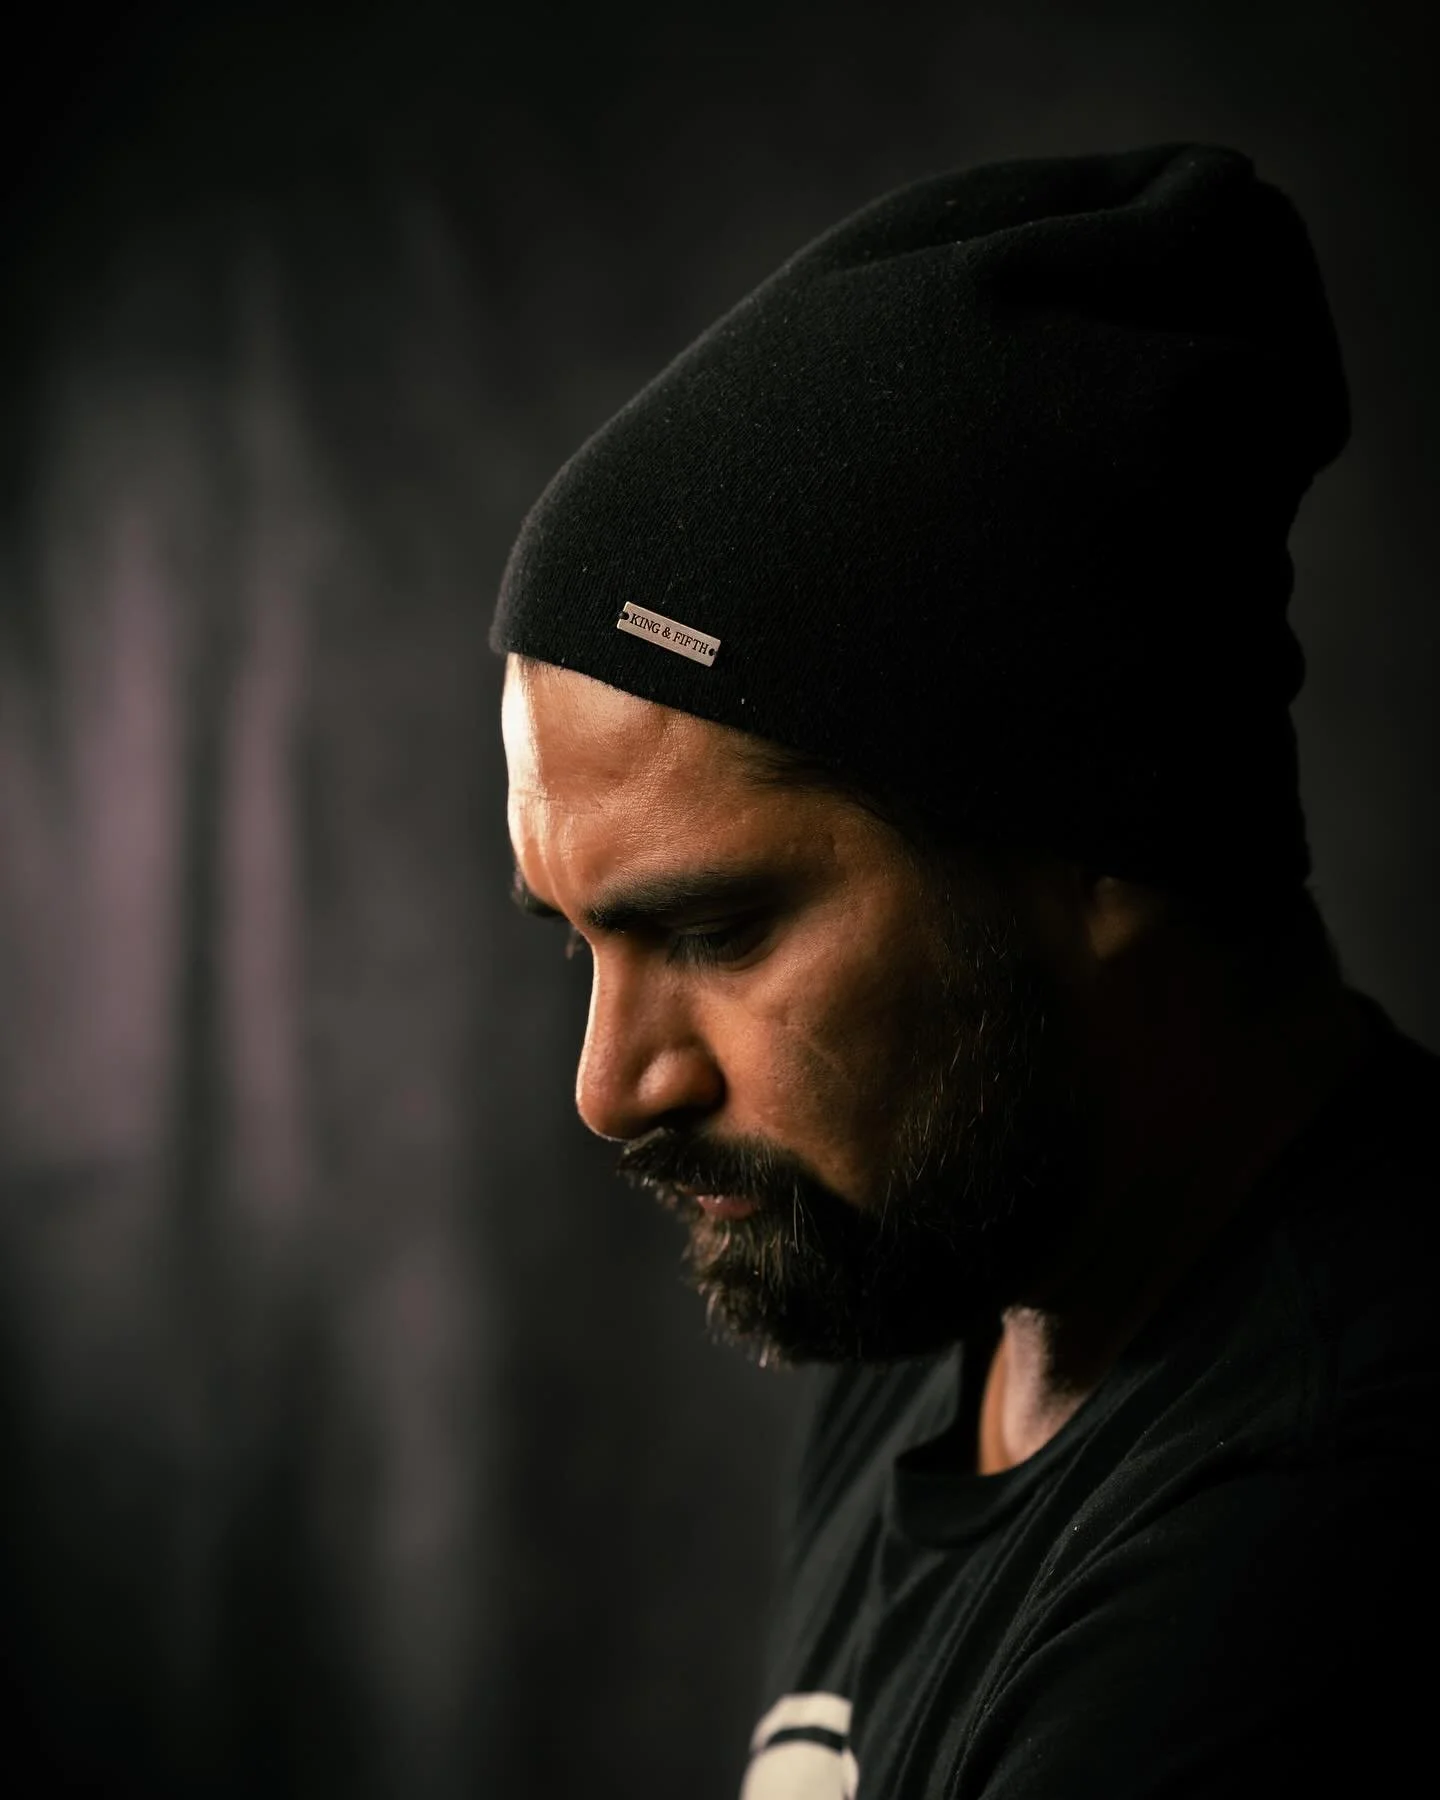
Before and after images! Dodge and Burn and Volume layers added!
Final Thoughts
Dodge and Burn may seem like a minor step in the retouching process, but it’s one of the most powerful techniques for elevating the quality of your photos. It’s the difference between a good image and a truly professional one, adding subtle depth, enhancing key features, and bringing balance to every shot.
The next time you look at your retouched photos, know that Dodge and Burn is working behind the scenes, making sure every detail looks its best. If you have any questions about how we apply this technique to your images, feel free to reach out!
Got any questions or need more information? Drop them in the comments below or contact T Martinez Photography at info@photosbytm.com! We are here to make your photoshoot a memorable and stunning experience!
Here’s to a fabulous and unforgettable photos! 📸
Equipment used:
Sony 70-200 GM Lens
Flashpoint xplor 600 pro strobe
Flashpoint XPLOR 400 PRO strobe
Flashpoint eVOLV 200 Pro II TTL Pocket Flash
60-inch Glow EZ-Lock OCTA softbox
Glow EZ Lock 48" Octa Small Quick Softbox
Glow EZ Lock 12x56 Quick Strip